Showing posts with label holidays. Show all posts

Thursday, December 23, 2010

DIY Gifting: Part 4, Making Cards with Amy Hornburg Heilveil

I've been excited to see this blog thread continue over the last few months and so happy that Amy volunteered to participate.  Amy has mad skills when it comes to almost anything artsy/craftsy and is one of the few people who juggle more hobbies than I do, so I knew she would have loads of DIY gifting experience.  
As many folks feel so overwhelmed by the mass commercialism during the holiday season, making gifts gets us all out of the malls, so we can spend more time at home. The last couple of weeks I've been  baking like a madwoman.  While doing so, I'm helping my son study for science or talking to my mom on the phone.  My husband and son also look forward to partaking in my baking endeavors and their taste testing skills are most necessary to ensuring my cookies will be enjoyed:)  
Amy is a fabulous baker, but one thing I didn't know until recently is that she makes gorgeous handmade cards.  Here's Amy's DIY gifting idea #1 in her own words, which I might have to do for my grandma next year.   


"With all of the papers and stamps available today, it's simple to make cards to give to people, but how about making a package of cards to give to someone so that they can give the cards away?  Several members of my family express how much the enjoy getting cards from me for occasions because I make my own and they find them beautiful and unusual. 
This year I decided to make up several packages of cards to give as gifts.  Pictured are three of the 'assortments' that I've given as Channukah gifts, which went over wonderfully."


Sunday, November 7, 2010

Totally Radical Holiday Cards


Joe and I have been busy little elves creating some awesome holiday cards.  Between Winter Solstice, Christmas and New Years' Eve, we do a lot of celebrating this time of year.  Already started making cards for family and friends, but here are a few from our store


Really into collage and retro holiday decorations.  This combines a bit of both.  Had to tear off each little piece of rice paper to create the snow, but it was worth it.


My husband created this rad design for a card.  Long live the mixed tape! holiday mix


Tuesday, November 2, 2010

DIY Gifting: Part 3, Knitting Hits and Misses with Dorothy Wisnewski

Not sure how everyone else's gift making for the holiday season is coming along, but so far I have yet to make ornaments- although I have bought some of the materials.  I have made quite a few cards.  Baking does not commence until December.  Right now my biggest obstacles are keeping the cat off of my dining room table (a.k.a. crafting table) and not losing momentum.
It is November, however, and whether you celebrate Christmas, Solstice, Hanukkah, or Kwanzaa, if you are making your own gifts, then it's time to get going!
Just to get you started, here is some inspiration from crafty lady Dorothy Wisnewski .  Dorothy has created many knitted gifts in the past for friends and family and dishes the dirt to BBAC on past gifting hits and misses:

"Now, past gifts. I have given some stuffed animals that I knitted and were received well.  A few years back there was a monkey I made for a little girl, who named it Daffodil Moons. 


More recently I've done two little lambs (not from my original pattern, though), which also were a hit. It helps that I figured out how to embroider the faces properly! And I made Audrey a bat, which she quite liked, and also is loved by Lucian.

But there have definitely been some comical misses. The first sweater I made for Jeremy (Dorothy's husband) was not quite the right fit or size, so he wore it a few times and then stopped. But he never told me why. Finally, he insisted that we keep it around anyway, because it was the first full-size sweater I had made, which is kind of momentous in the career of a knitter. I, on the other hand, had intended to knit a useful thing, and did not appreciate this monstrosity sitting in my house mocking my inadequacies as a designer and tailor. So I ripped out every stitch, balled up all the yarn again, and have begun knitting it into a different sweater for him. There's still a chance this one won't work either, becuase of different design choices on my part, in which case it will become a vest and I will wash my hands of it.

The other funny failure that comes to mind also happens to be a sweater. (They're so conducive to imperfection!) When I was pregnant with Lucian, I wanted to make something special for Audrey, so that her baby brother wouldn't be the only one benefitting from people's generosity. So I made her a big sister hoodie, out of a lovely soft cotton blend, very comfy, with pretty cables all over. Since it was to be a surprise, I couldn't have her try it on as I knitted, but I knew that I didn't want her to outgrow such a labor-intensive sweater right away, so I sized it generously. Well, that was a year and a half ago, and we think she probably has another year or two before she can wear it. Oops."


Monday, October 18, 2010

Eco-friendly card making supplies!

Mix it up this holiday season and make your own cards!  I've already gotten a head start, but there is still plenty of time.  So far, we have a few colors to choose from: holiday red, natural white, and olive.  All envelopes and cards are made with recycled paper!  blackbird and peacock- click here!                                              


shop link


card making tutorial


Tuesday, October 12, 2010

DIY Gifting: Part 1, Making Cards with Recycled Materials

If you've read any of the former posts, you know that making cards has become one of my favorite hobbies over the past few months.  I consider myself a writer rather than an artist, although I love art, so this is a wonderful hands-on outlet for me.
I'm creating this tutorial just to give you a few ideas.  Usually I incorporate stamping into the process, but wasn't as inspired today as I've been doing a ton of stamping lately.


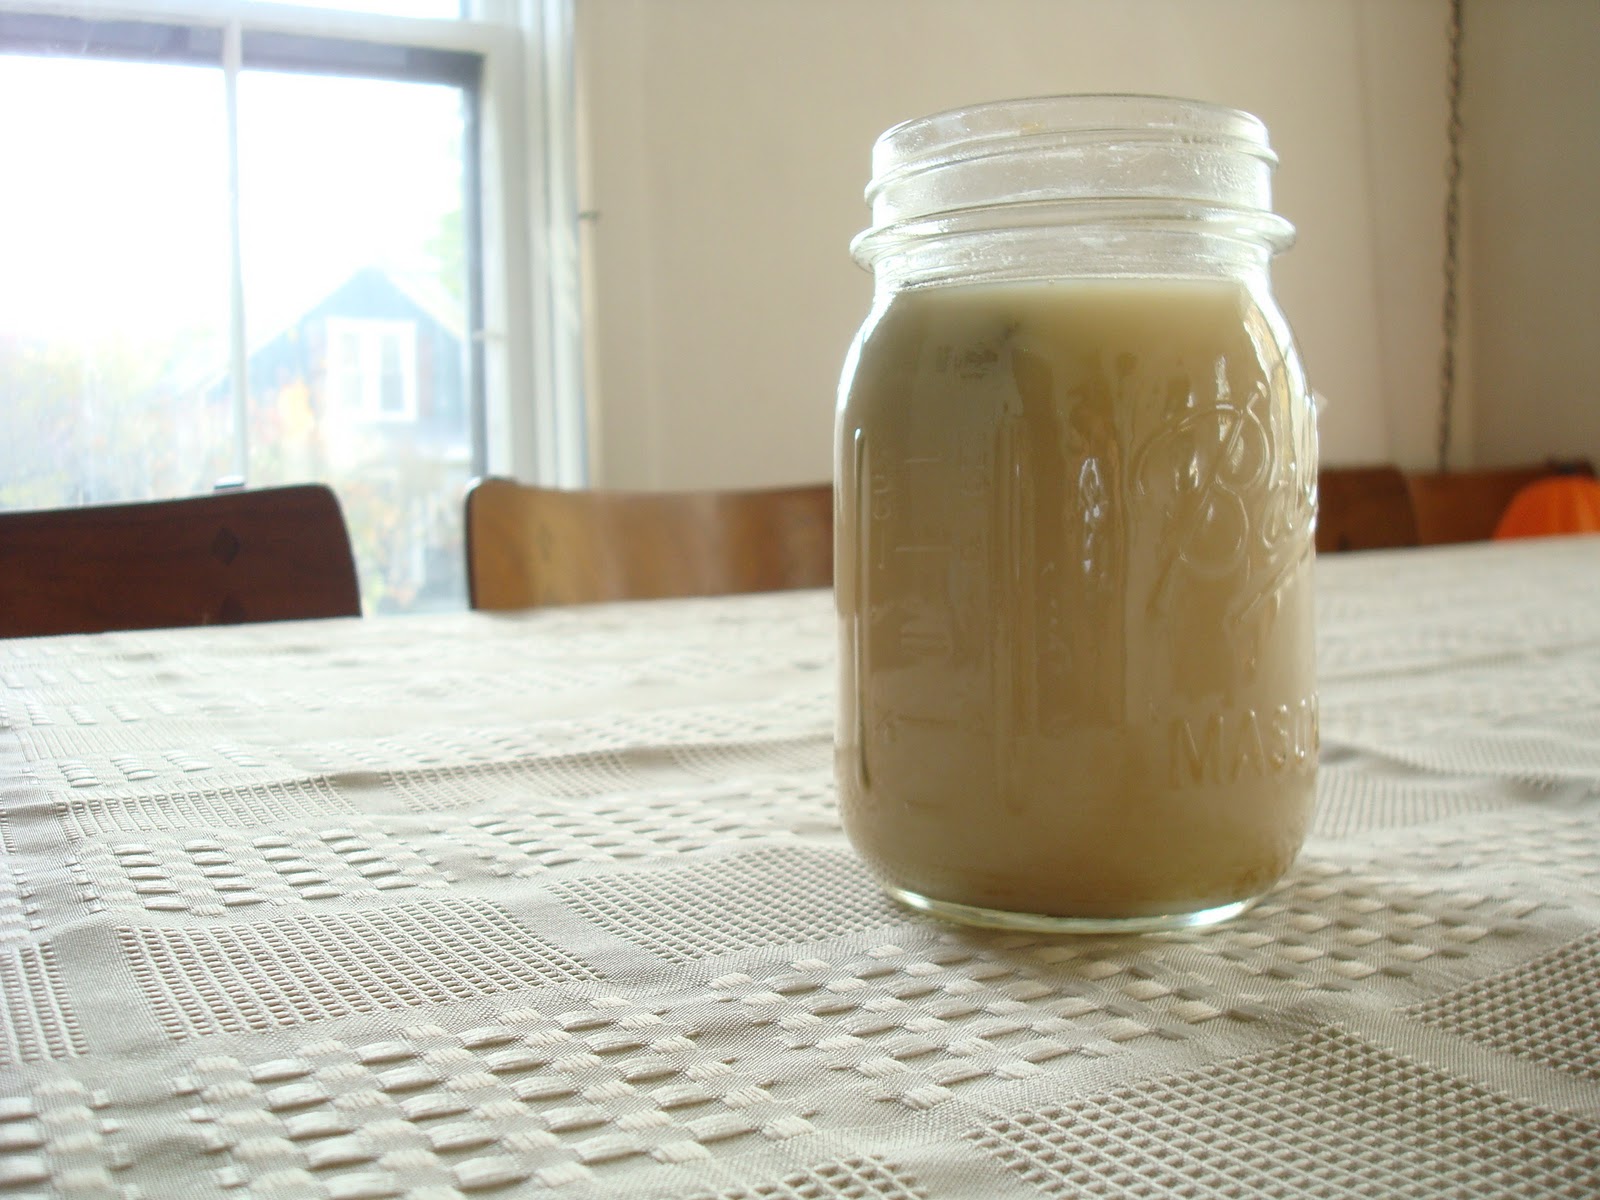
First on the list- get something to drink.  I can't get started without chai in the morning.


Then, set up your work area.  Think about what utensils you will need.  For this project I used: scrap paper, card stock, scissors, bone folder, vintage cards, x-acto blades (make sure it is sharp), ruler and cutting mat. 


My husband was nice enough to cut some card stock for me (he's more meticulous than I am).  I buy recycled card stock and envelopes.  You can also buy pre-folded cards.   
Next, look over the materials you have and choose things that catch your eye.  Last week I found some vintage cards at an antique shop that was having a mega-sale.  Cruise garage sales or flea markets- they often have paper that is very inexpensive for crafting.  


I cut out designs, words or pictures that I think would work well.  If I have everything pre-cut and ready to go, then I find it easier to decide what elements I'm going to bring together next.
I have a fondness for retro Christmas decorations and cards, but you may not.  Choose something that suits your style.


Choose your card.  I like to decide what color card I'm going to use before I start putting the pieces together, so I have an idea of what colors work together.  Fold your card (make sure you crease it several times) with the bone folder or back side of a butter knife, if your cards aren't pre-folded.


Place all of the images/text you want to use on the paper (pre-glued) to figure out placement.  Then, get your glue stick!  Be sure to cover back of paper completely.


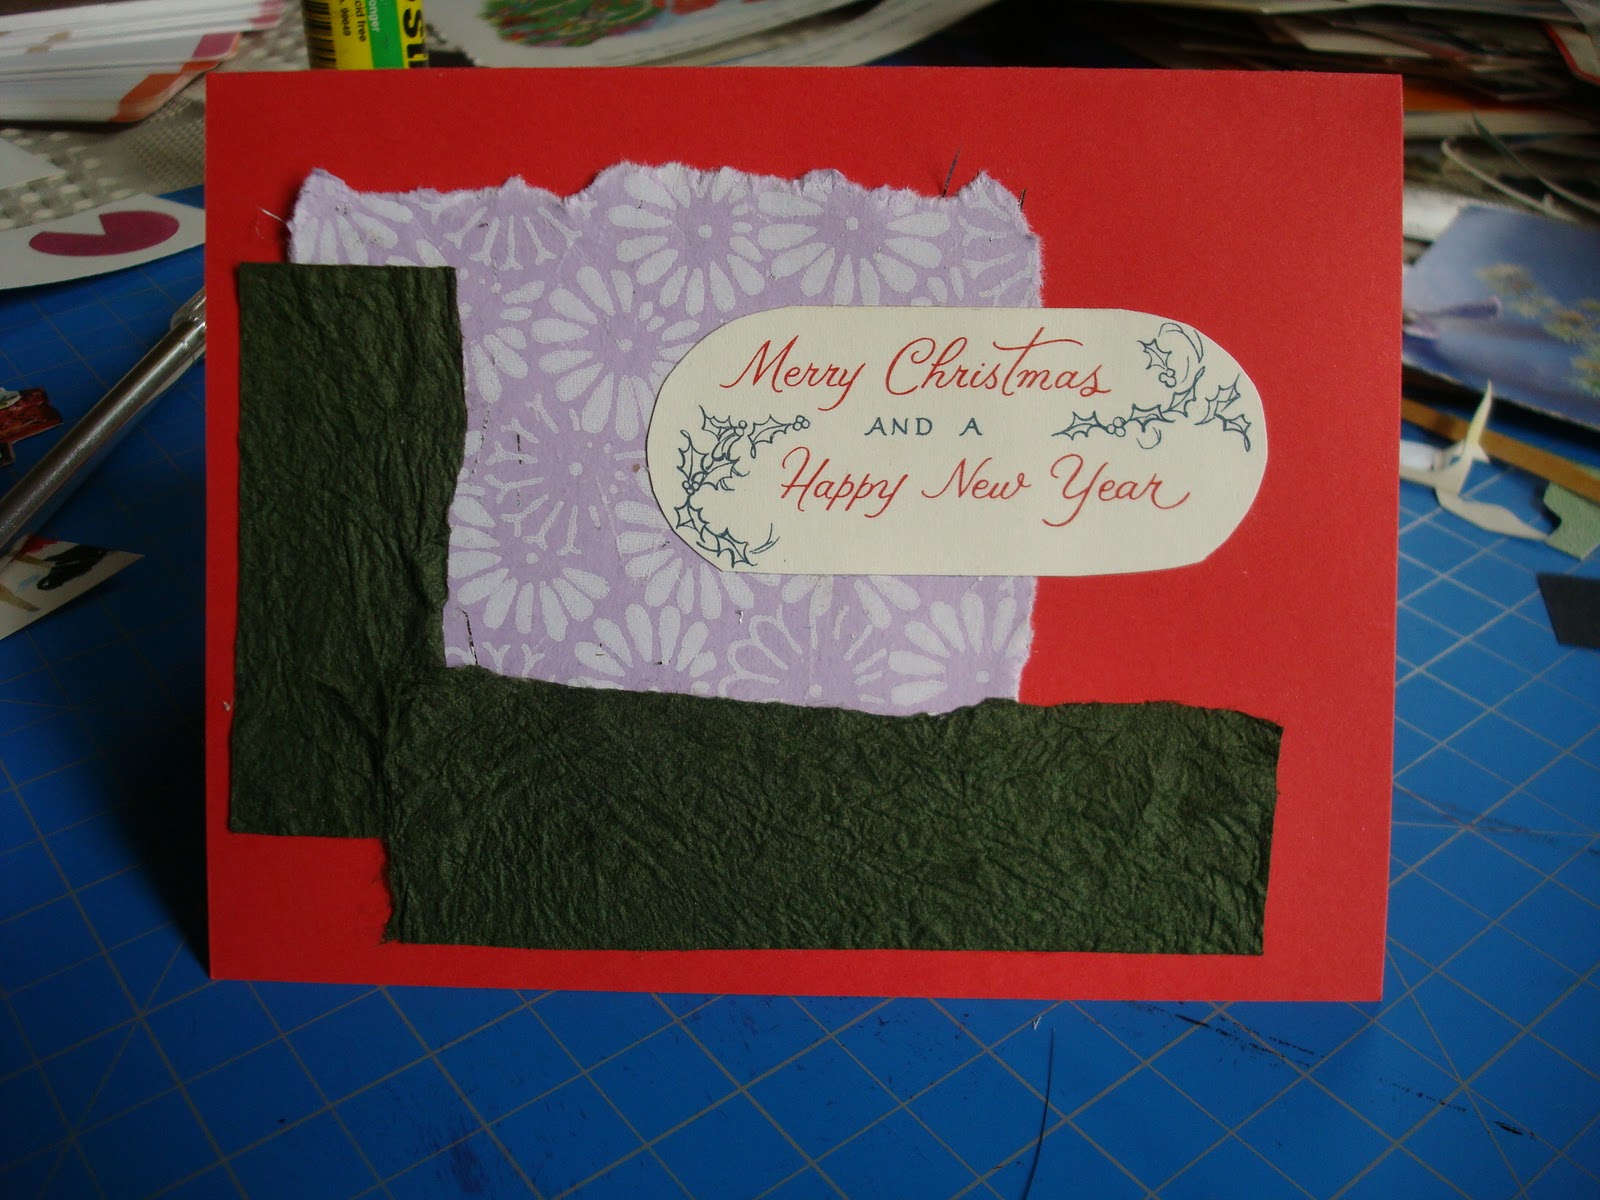
One of the cards I created today.  For this card, I tore two of the piecesof paper to give the card a more textured look.  The paper with text was cut with scissors from a vintage Christmas card.


My kitty loves kneading and laying on the scrap paper bag.  Every time I get it out he declares it as his own:)